They've been great to build landing pages and then even greater to work with for cleaning them up, making everything neat and eye-catching. Highly recommend Landerlab.
The Landerlab team has put so much effort and time into the product, I'm impressed. You can easily create a stunning landing page by dragging and dropping, and if you're out of ideas, you can browse 100s of templates. Highly recommend Landerlab.
Finally templates that actually convert. What sets LanderLab apart is the AI. You describe what you want in a single prompt and you get a landing page tailored to your niche. Massive time saver for any affiliate or media buyer running multiple offers.
The secret software your marketer doesn't want you to know about. The onboarding team at LanderLab went above and beyond and recreated all my landing pages and quizzes. The AI features to customize your landing page from a single prompt are quite amazing.
Effortless landing pages with stellar support. Super easy to set up and it supports creating landing pages perfectly. The support is 200% perfect, helping me not only resolve issues but also find qualified users. Creating landing pages is a breeze with their AI.
The customer service is amazing! I had problems all day trying to publish my page, chat gpt was useless and I got a random message from them and they solved my 9 hour problem in about 15 minutes. Couldn't ask for more!
Great platform for managing landing pages and leads. What I like most is how easily LanderLab creates landing pages. The platform is very intuitive, making it simple to design and launch pages quickly without complicated setup. It integrates well with other tools, and the support is helpful whenever needed.
Switched from another builder and not going back. The AI builder alone is worth it, pages live in minutes and the templates actually look like something I'd publish. Way easier than what I was using before.
The APPLE of page builders, outstanding support team as well. The last update made Landerlab THE most competitive tool I have ever used. Packed with templates, AI, and features that will save you a great deal of time.
THE BEST TOOL OUT THERE! LanderLab has truly redefined my experience with landing page creation. From intuitive design options to robust integrations, it has everything you need. Outstanding support and personalized care that makes all the difference.
Best Service Ever. Needed a custom solution and the team implemented it in less than 30 minutes. The best service ever, you won't go wrong with choosing Landerlab.io.
Best service ever received. Needed custom work and I'm not very technical. The team took the time to view my request and the work was done in less than 12 business hours. They also jumped on a call to help me use the platform better.
A must for performance marketers. The Support is top-notch. I had a tracking issue that forced me to completely change my setup, but the Landerlab team went the extra mile and built a custom solution for me within just a few days. This is how you should treat your customers.
Landerlab is sick! Loving it, very quick and easy to use. Was on another tool before but this is exactly what I needed.
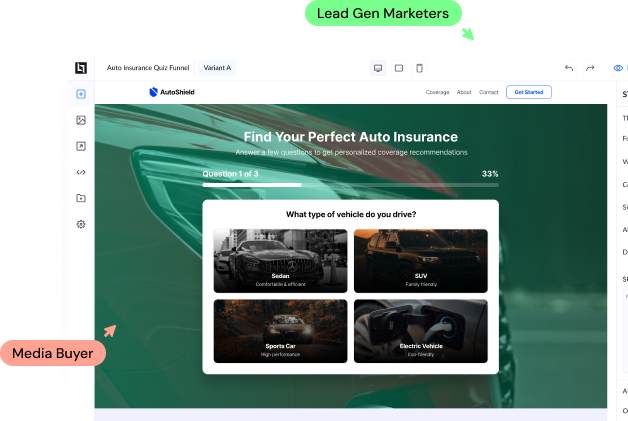
Build AI Landing Pages With a Few Clicks
Choose from 100s proven high-converting templates
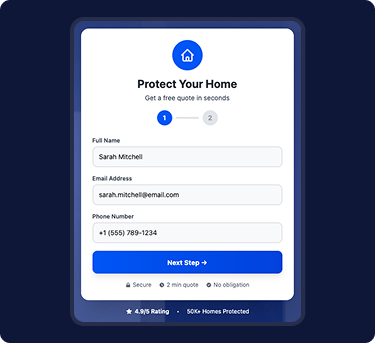
Lead Generation Landing Pages
Collect and distribute leads to platforms like LeadsPedia, LeadProsper, Phonexa, and more.
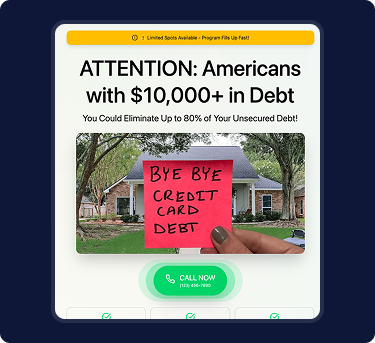
Pay Per Call Landing Pages
Built for pay-per-call marketers, with native Ringba, Retreaver, and more built-in integrations.
Advertorial Landing Pages
Proven advertorial landing pages optimized for trust, engagement, and conversions.
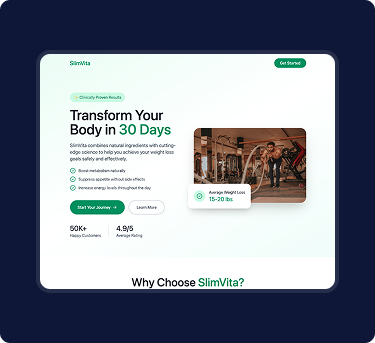
Ecommerce Landing Pages
Ecommerce pre-sell landing pages built to warm traffic, build intent, and drive clicks
Lead Generation Landing Pages
Collect and distribute leads to platforms like LeadsPedia, LeadProsper, Phonexa, and more.
Pay Per Call Landing Pages
Built for pay-per-call marketers, with native Ringba, Retreaver, and more built-in integrations.

Advertorial Landing Pages
Proven advertorial landing pages optimized for trust, engagement, and conversions.
Ecommerce Landing Pages
Ecommerce pre-sell landing pages built to warm traffic, build intent, and drive clicks
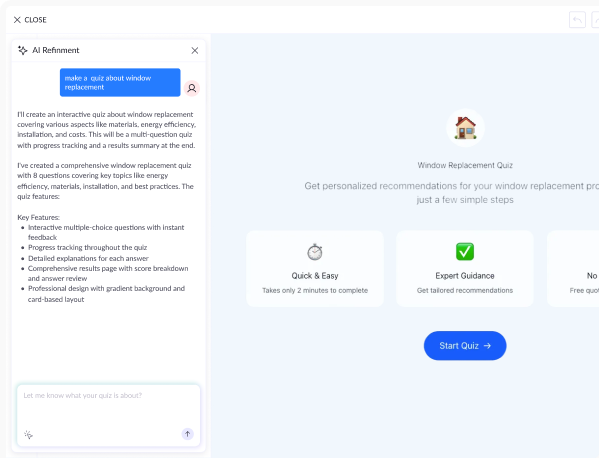
Build Quiz Funnels In
Seconds With AI
Start from scratch, use a high-converting template, or let AI generate your flow.
Add logic, validation, and CRM integrations. No code needed.
AI Assistant
Conditional Logic
Analytics
Leads
Integrations
AI Assistant
Create full quiz funnels from one prompt. Trained on Solar, Medicare, Insurance, Home Services, not generic layouts.
Learn More

Found a Page You Like?
Clone it in Seconds
Workflows Automate Everything That Happens
Automate Everything That Happens
After the Lead
Workflows run every time you capture a new lead. Drag and connect nodes on the canvas, decide where each lead goes, then publish. No manual exports, no scripts, no waiting on a developer.
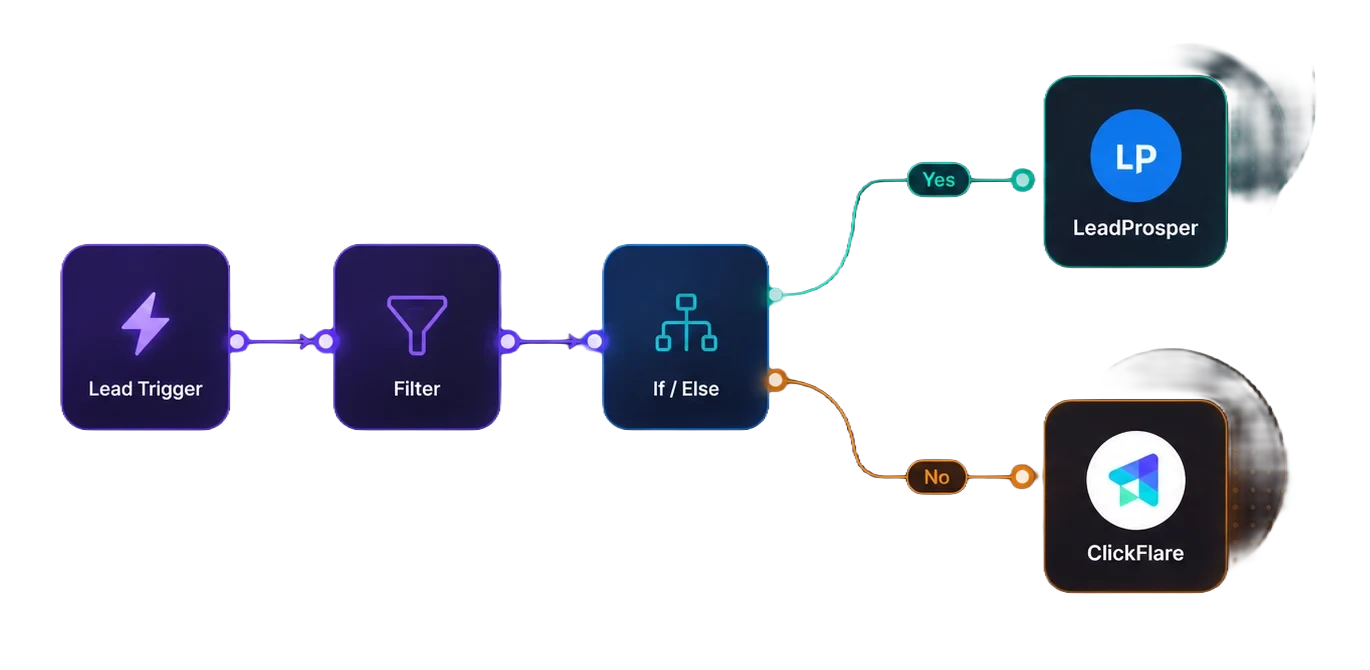
Swipe to see the full flow
Lead Trigger
Every run starts the second a visitor submits a form on one of your landing pages or quiz funnels.
Logic Nodes
Filter, If, Switch and Delay send each lead down the right path based on the data it carries.
20+ Destinations
LeadProsper, Phonexa, LeadsPedia, HubSpot, Klaviyo, Meta CAPI, ClickFlare, Google Sheets, or any HTTP endpoint.
Runs View
Follow every lead's journey: where it entered, which path it took, and where it ended up.
The Only Platform You Will Ever
Need for Landing Pages
No need to pay for other tools. Landerlab combines many tools you would pay separately in one plan. Packed with everything you need to create, split-test, and scale your landing pages.
Effortless Integrations
Send leads directly to platforms like LeadsPedia, LeadProsper, and Phonexa. Automate with Zapier and with tracking platforms like ClickFlare. All integrated natively, no complex setups or need for custom code.
Learn More
Built-In Analytics
Track visitors, leads, and conversions in a beautiful dashboard. See breakdowns of the geos and referrers from where your visitors come. No need for expensive third-party tools.
Learn More
A/B Test Your Landing Pages
Run A/B tests on your landing pages to see which headlines, forms, and layouts convert better. Very easy and intuitive. No coding or complex scripts required
Learn More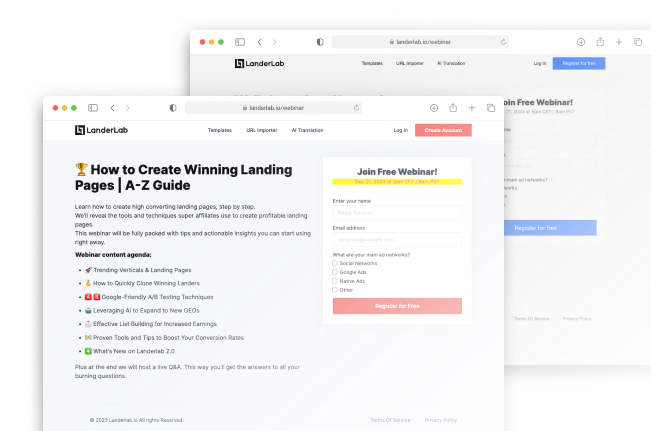
Multi-User Access & Workspaces
Add team members, assign roles, and create separate workspaces to keep everything organized. Perfect for managing brands, clients, or campaigns in one place.
Learn More
AI That Understands Performance Marketing

AI Landing Page Builder
Generate landing pages for Medicare, insurance, advertorials, whatever your niche is. One prompt, trained on real campaigns in your vertical.
AI Quiz Funnels
Build quiz funnels that pre-qualify leads before they hit your buyers. Trained on Medicare, solar, insurance workflows, not generic question templates.
AI Text Refine
Refine and rewrite your entire landing page copy in one click.
AI Translate
Choose the language you want, and your page is translated instantly.
Build, Connect, and Scale with LanderLab
Create high-converting landing pages and quiz funnels, connect them to your existing tools, and keep lead data flowing automatically as campaigns grow.Everything you need to launch and optimize lead generation in one place.
Start For FreeNo Credit Card Required